


We’re no ‘fans’ of a noisy bathroom fan. Of course, it needs to make some noise, so you know it’s working. However, if your fan is grinding, rattling, or sounding more like the turbine on a discount airliner than a bathroom exhaust fan, we feel your pain.
Not only is the sound a nuisance, but it could also be a sign that your fan isn’t performing properly. Exhaust fans help remove other unpleasant senses from the room and reduce the amount of moisture left behind by steamy showers and long soaks in the tub. Needless to say, it’s important that it functions the way it should.
How to Troubleshoot a Noisy Bathroom Fan
#1: Inspect for damage
Over time, wear and tear can lead to visible damage on cheap or old bathroom exhaust fans. Unscrew the fan cover, ensuring the fan is turned off, and use a flashlight to inspect for any signs of damage to the blades or motor. If something looks off, the blades, motor, or entire unit may need replacing. If no visible signs of damage are present on your noisy bathroom fan, continue to troubleshooting tip number two below.
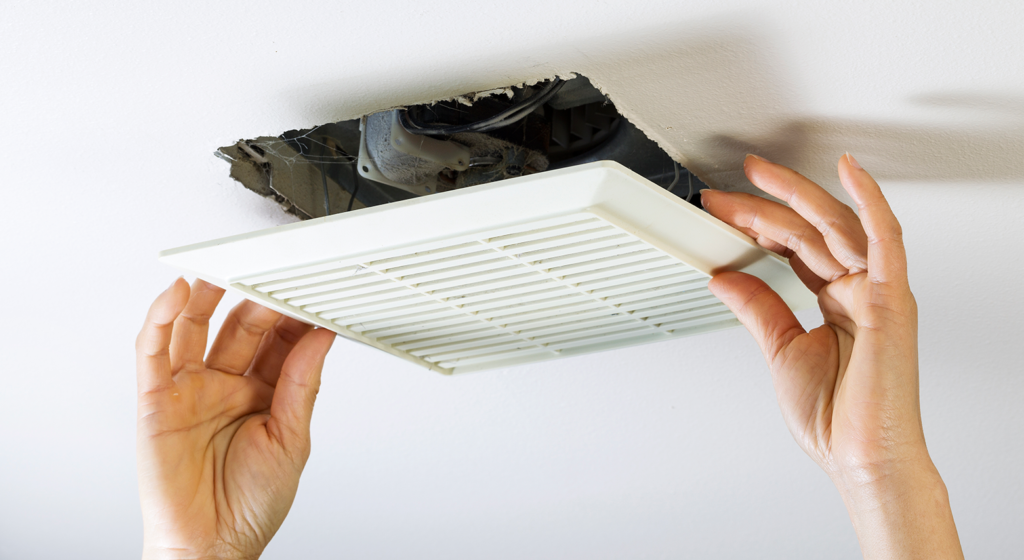
#2 Thoroughly clean the fan
Think about it. Have you ever cleaned your bathroom fan? We’re not judging, but build-up of dirt, dust, and debris could be having a negative effect on how the fan performs and even the noise that it makes.
While the cover is still off, use a rag and warm, soapy water to carefully wipe down the blades and the surface of the motor. Try to get in every nook you can. Once everything is dry, replace the cover and give it a test run.
No more noisiness? Great!
Still screaming like a banshee? Alright, alright. Troubleshooting tip number three…
#3: Lubricate the fan motor and blades
Like any machinery, lubrication is key to smooth moving parts and avoiding the noisy bathroom fan problem . Over time, these parts may dry out, creating more friction, more damage, and—you guessed it—more noise. Before moving forward, make sure you completed step number two. You don’t want your lubricant to mix with all that dirt and dust.
Pop off the fan cover again (hope you still have that screwdriver handy). Using WD-40 or another preferred lubricant, apply around the base of the blades where the friction is the greatest.
All done? Let’s go for another test run.
#4: Tighten the screws
You’re still here? Okay, okay. If lubrication didn’t work, let’s tighten up those mounting screws. Over years of use, your mounting hardware may loosen from the vibration. As the hardware loosens, vibration will increase, contributing to more noise.
If your fan is installed with screws running through the fan assembly into a joist, remove the cover, locate the screws, and tighten them.
#5: Give us a call
If you’ve tried all of the above and you still have a noisy fan, you may need a professional to perform maintenance, replace a motor, or install a new unit altogether. You want your exhaust fan to function efficiently so moisture doesn’t linger in your bathroom. Contacting a professional may be your best option if our troubleshooting tips weren’t the fix.
Contact us today to learn how we can help restore the peace and quiet in your bathroom.